Website QA Testing: A Practical Guide for Client Projects
Run website QA on staging with a clear test scope, browser checks, reproducible bug reports, client acceptance, and a final launch review. Includes free templates.

A contact form can look finished and still send enquiries to the wrong inbox. A mobile menu can work in a desktop preview and fail on the client's phone. Website QA testing checks those journeys before visitors depend on them.
For a client website, a useful QA process has an agreed scope, a stable staging version, a record of what was tested, and time to verify fixes. Use the website QA checklist as your working record. This guide explains how to run the review around it.
What is website QA testing?#
Website quality assurance is the process of checking that a site meets its agreed requirements and that visitors can complete its intended tasks. That includes functionality, content, responsive behavior, accessibility, and the configuration needed for release.
QA and client acceptance answer related questions. The team checks whether the site behaves as specified. The client confirms that the delivered work meets the agreed business requirements. A successful form test does not approve the wording on the contact page; approval of the design does not prove the form works.
1. Define the review before sharing the staging link#
Start with the page list and the visitor journeys that matter. For a brochure site, those might be finding a service, reading a case study, and sending an enquiry. For a store, the journey also includes checkout, payment, confirmation, and order handling.
Record these details in the website project plan template:
- The version or deployment being reviewed.
- Pages, journeys, browsers, and devices in scope.
- Test accounts and access instructions.
- The person who triages reports and the person who approves release.
- A feedback deadline and a separate retest window.
- What counts as a release blocker.
For example, you might define a broken enquiry form as a blocker and a small spacing adjustment as a lower-priority revision. Those are project decisions. Agree on them before the review so “urgent” means the same thing to the client and the developer.
Use test data appropriate to the environment. A staging submission should not accidentally trigger a real order, payment, or customer email.
2. Test complete visitor journeys#
Walk through a task from the visitor's starting point to its outcome. Testing only individual buttons misses the gaps between pages and systems.
For an enquiry journey:
- Start on the homepage and find the relevant service.
- Follow the contact link using a mouse, then using the keyboard.
- Submit the form empty and check that the error explains how to continue.
- Submit representative valid data once.
- Check the confirmation shown to the visitor.
- Verify that the message reaches the expected test inbox or destination.
- Try again on a real phone.
Record the browser, device, account role, and result. If you did not verify delivery, write “delivery not checked”; a success message in the browser is not proof that the recipient received the enquiry.
Include states beyond the happy path: long names, empty results, unavailable images, validation errors, and expired sessions where relevant. Use the agreed requirements to choose the states that deserve testing.
3. Check layout and accessibility separately#
Review representative widths, then test important tasks on actual devices available to your team. A responsive preview is useful for spotting overflow, but it does not reproduce every touch, keyboard, or browser behavior.
Look for text hidden behind fixed elements, controls too close together, menus that cannot be closed, and page content that disappears when zoomed. Check that visible labels explain the input expected and that a keyboard user can see where focus is.
The W3C Easy Checks provide an introductory accessibility review covering areas such as page titles, image alternatives, headings, contrast, and keyboard access. Passing those checks is a starting point, not a complete accessibility evaluation.
Keep performance checks in the same review record, with the page and testing conditions noted. A single automated score does not describe every visitor's experience. Repeat the important journey under the device and connection conditions your audience is likely to use.
4. Write one reproducible report per issue#
“The contact page is broken” leaves the developer to discover what you already saw. A useful report names the affected behavior and gives the next person a sequence to follow.
Use the bug report template to record:
| Field | Example |
|---|---|
| Title | Contact form shows no confirmation after Send on mobile |
| Page and context | /contact on staging; phone, browser, and viewport recorded |
| Steps | Fill required fields, tap Send once, wait ten seconds |
| Expected result | A confirmation appears |
| Actual result | Button remains disabled; no confirmation appears |
| Evidence | Screenshot and available technical details |
| Impact | Visitor cannot tell whether the enquiry was sent |
| Owner and status | Assigned during triage; awaiting investigation |
This is an illustrative report, not a diagnosis. It does not claim the server lost the message. That needs investigation.
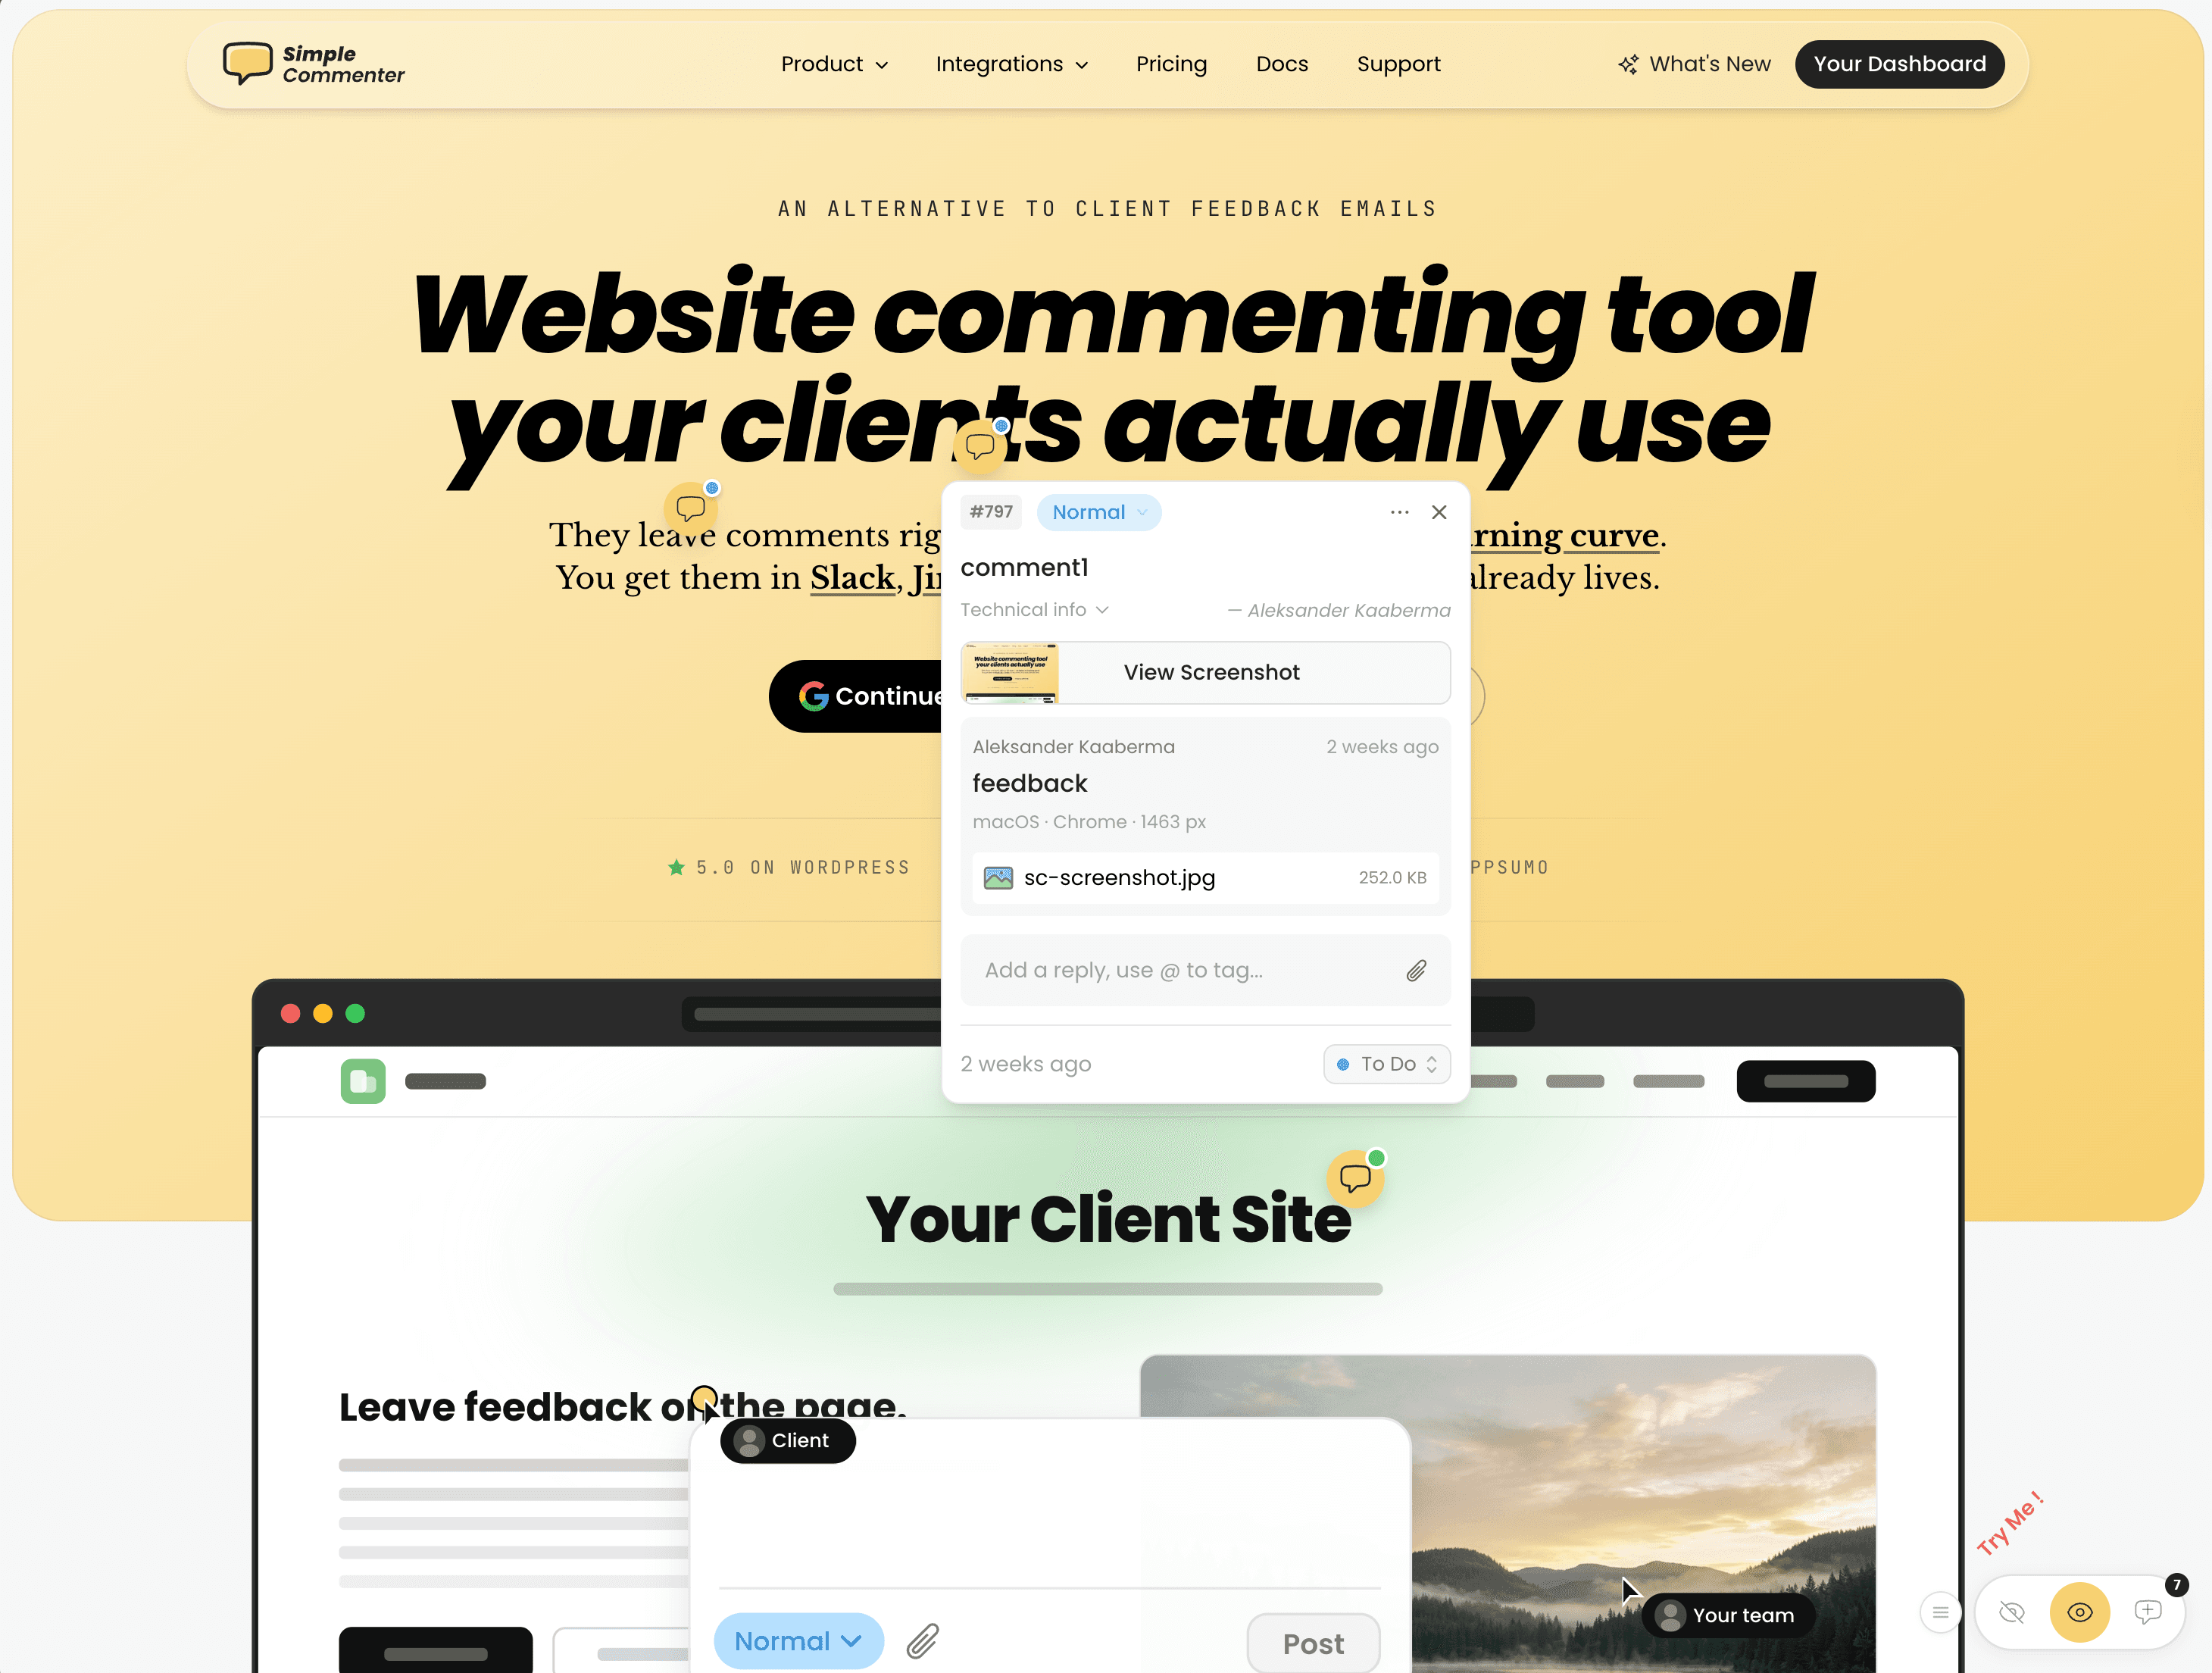
In Simple Commenter, reviewers can pin the report to the affected page element. Page context and enabled capture features help the developer find the relevant state. The reporter should still explain the actions taken and expected result.
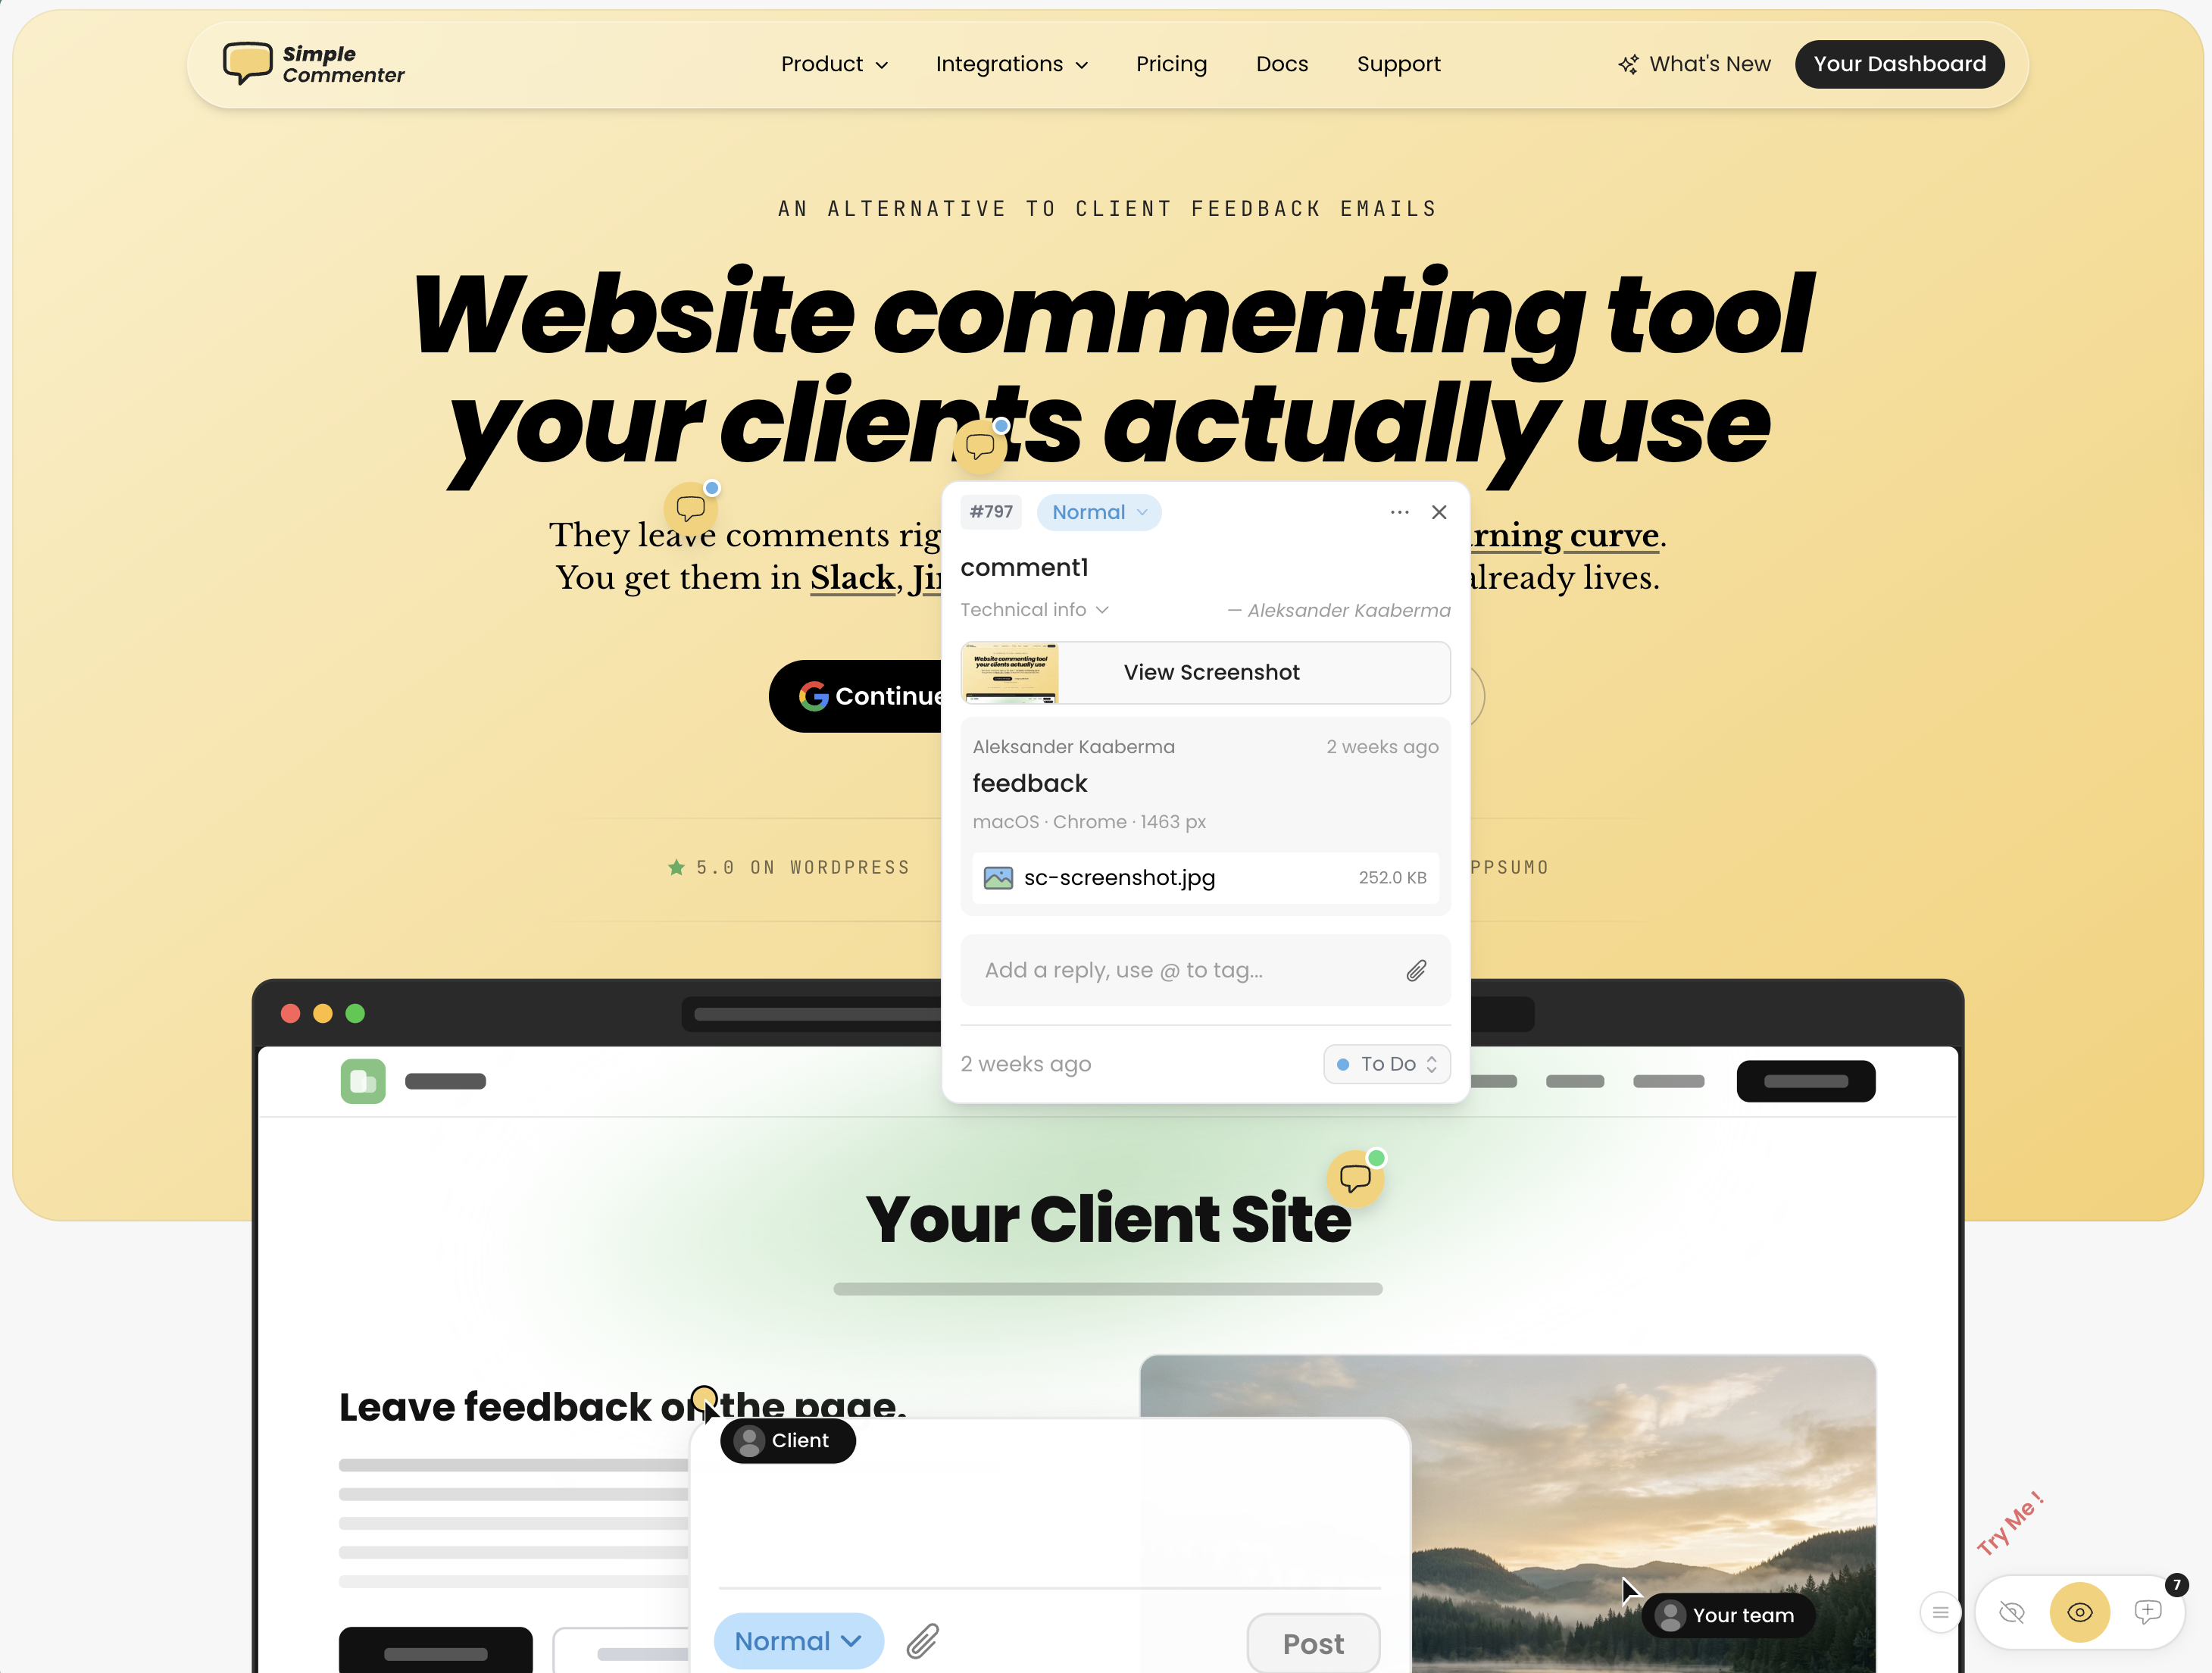
We build Simple Commenter. The website feedback tool is one way to collect those reports; the checklist and bug-report template work with your existing tracker too.
5. Triage, fix, and retest#
Before assigning new work, check whether the issue already has a report. Link related observations and keep distinct failures separate when they need different fixes.
Separate defects from revisions and new scope. A form failing to send is a defect. A client changing approved wording may be an in-scope revision. Adding a second language may need a new estimate. The project agreement determines the boundary.
After a fix, repeat the original steps in the affected environment. Then check nearby behavior: a form fix should not break validation, keyboard use, or the mobile layout. Record the version tested and the outcome. A code change alone is not a passed test.
If an issue cannot be reproduced, ask for the missing detail and keep its status clear. Closing it without an explanation leaves the client unsure whether anyone understood the report.
6. Get client acceptance and check production#
Give the client the staging review checklist and a bounded review task. Ask them to check the agreed content and journeys, consolidate feedback, and name anything they cannot approve.
Record acceptance against a specific version. An unresolved comment and an approved release can coexist only when the approver explicitly accepts that limitation. Silence should not be treated as sign-off.
Follow the client approval workflow for the review and decision record. Once release is authorized, use the website launch checklist to repeat critical checks in production. Domain settings, redirects, form destinations, and environment configuration can differ from staging.
Which tools do you need for website QA?#
Use a browser and real devices for task-based checks, an appropriate accessibility and performance testing tool, and one place to track findings. A visual feedback tool is useful when screenshots and page locations otherwise get lost between email and your task board.
Choose the workflow around the people doing the review. Internal testers may already work in Jira or Linear. A client may need a link and a short explanation of where to click. Our website feedback tools comparison explains those differences.
Questions about website QA#
Should the client do the QA testing?#
The delivery team should test the agreed functionality before asking the client to review it. The client contributes business knowledge and confirms acceptance. Give each group an explicit task; do not make the client discover basic failures first.
How much time should we reserve for QA?#
Estimate from the number of journeys, environments, integrations, and expected review rounds. Reserve time for both initial testing and retesting. A deadline that only allows reports to be filed leaves no room to verify the fixes.
Is an automated scan enough?#
No. Automated checks can surface certain defects, but they do not decide whether a service page explains the right offer or whether an enquiry reached the correct team. Combine them with manual tasks and client acceptance.
What should we save after launch?#
Keep the reviewed version, completed checklist, key test results, issue decisions, approval record, and handoff owner. That gives the team a useful starting point when the next update changes the same journey.
Found this useful? Add us as a preferred source and Google will show you more of our guides in Search and AI Overviews.