Client Approval Workflow for Website Projects
Run a clear client approval workflow on staging: define reviewers, collect website feedback, resolve revisions, and record sign-off before launch.

The designer has an “approved” message in Slack. The developer has three new requests by email. The client thinks another colleague is still reviewing the homepage. Nobody knows whether the site is ready to launch.
A client approval workflow gives those messages a sequence: define the review, collect feedback, make the agreed revisions, verify them, and ask one named person for a release decision. For a website, tie that decision to the staging version that was actually reviewed.
Feedback and approval are different decisions#
Feedback describes something to consider or change. Approval confirms that a specified deliverable meets the agreed requirements. A resolved comment tells you that one issue has been handled; it does not automatically approve the whole website.
Content approval also needs context. A paragraph may be correct in a document but wrap badly in the finished page. Review final copy, images, links, and important interactions on staging, where the client can see them together.
1. Set the review rules at kickoff#
Name the project lead, the reviewers, and one final client approver in the website project plan. Reviewers can contribute specialist feedback; the approver makes the final decision.
Agree on the deliverables, the review window, the included revision rounds, and how new scope will be estimated. Record what happens when a deadline is missed. Usually that means contacting the approver and revising the schedule, not treating silence as acceptance.
The creative brief template helps agree on the objective and audience before design starts. Keep the approval process connected to that brief so every round is judged against the same requirements.
2. Send one review brief with the staging link#
Before inviting the client, complete the team's first website QA pass. Then send a short brief that answers:
- What is ready for review?
- Which version and pages should they open?
- Which journeys should they try?
- Where should they leave comments?
- What is outside this review?
- When is feedback due, and who consolidates it?
Here is an example you can adapt:
The five brochure pages are ready for review on staging, version 12. Please check the service descriptions, imagery, and enquiry journey by Tuesday at 3 pm. Leave one comment per issue on the relevant page. Alex will consolidate conflicting requests. The booking integration is outside this round. We will confirm the revision list before implementing it.
Use the staging site review checklist to make the task concrete. Confirm that the client can open the link with the access level they will actually use.
3. Collect comments beside the work#
Ask reviewers to point at the affected content and explain the intended outcome. “Use our new team photo here” is actionable. “This needs more energy” needs a follow-up question before the designer starts guessing.
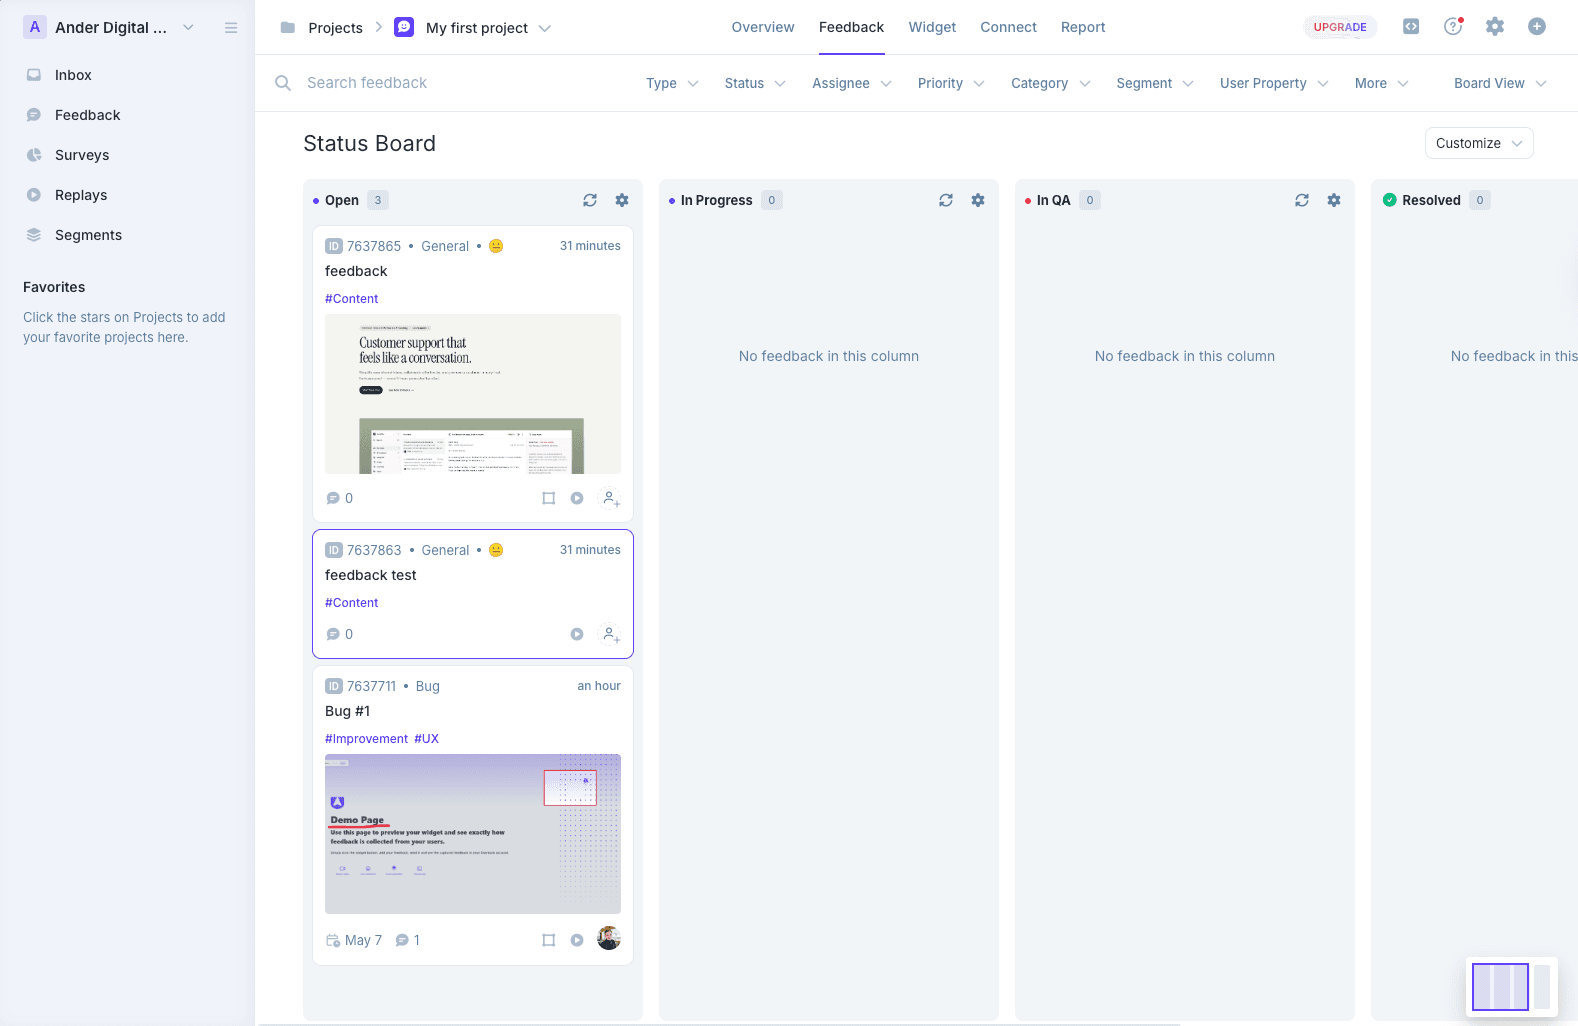
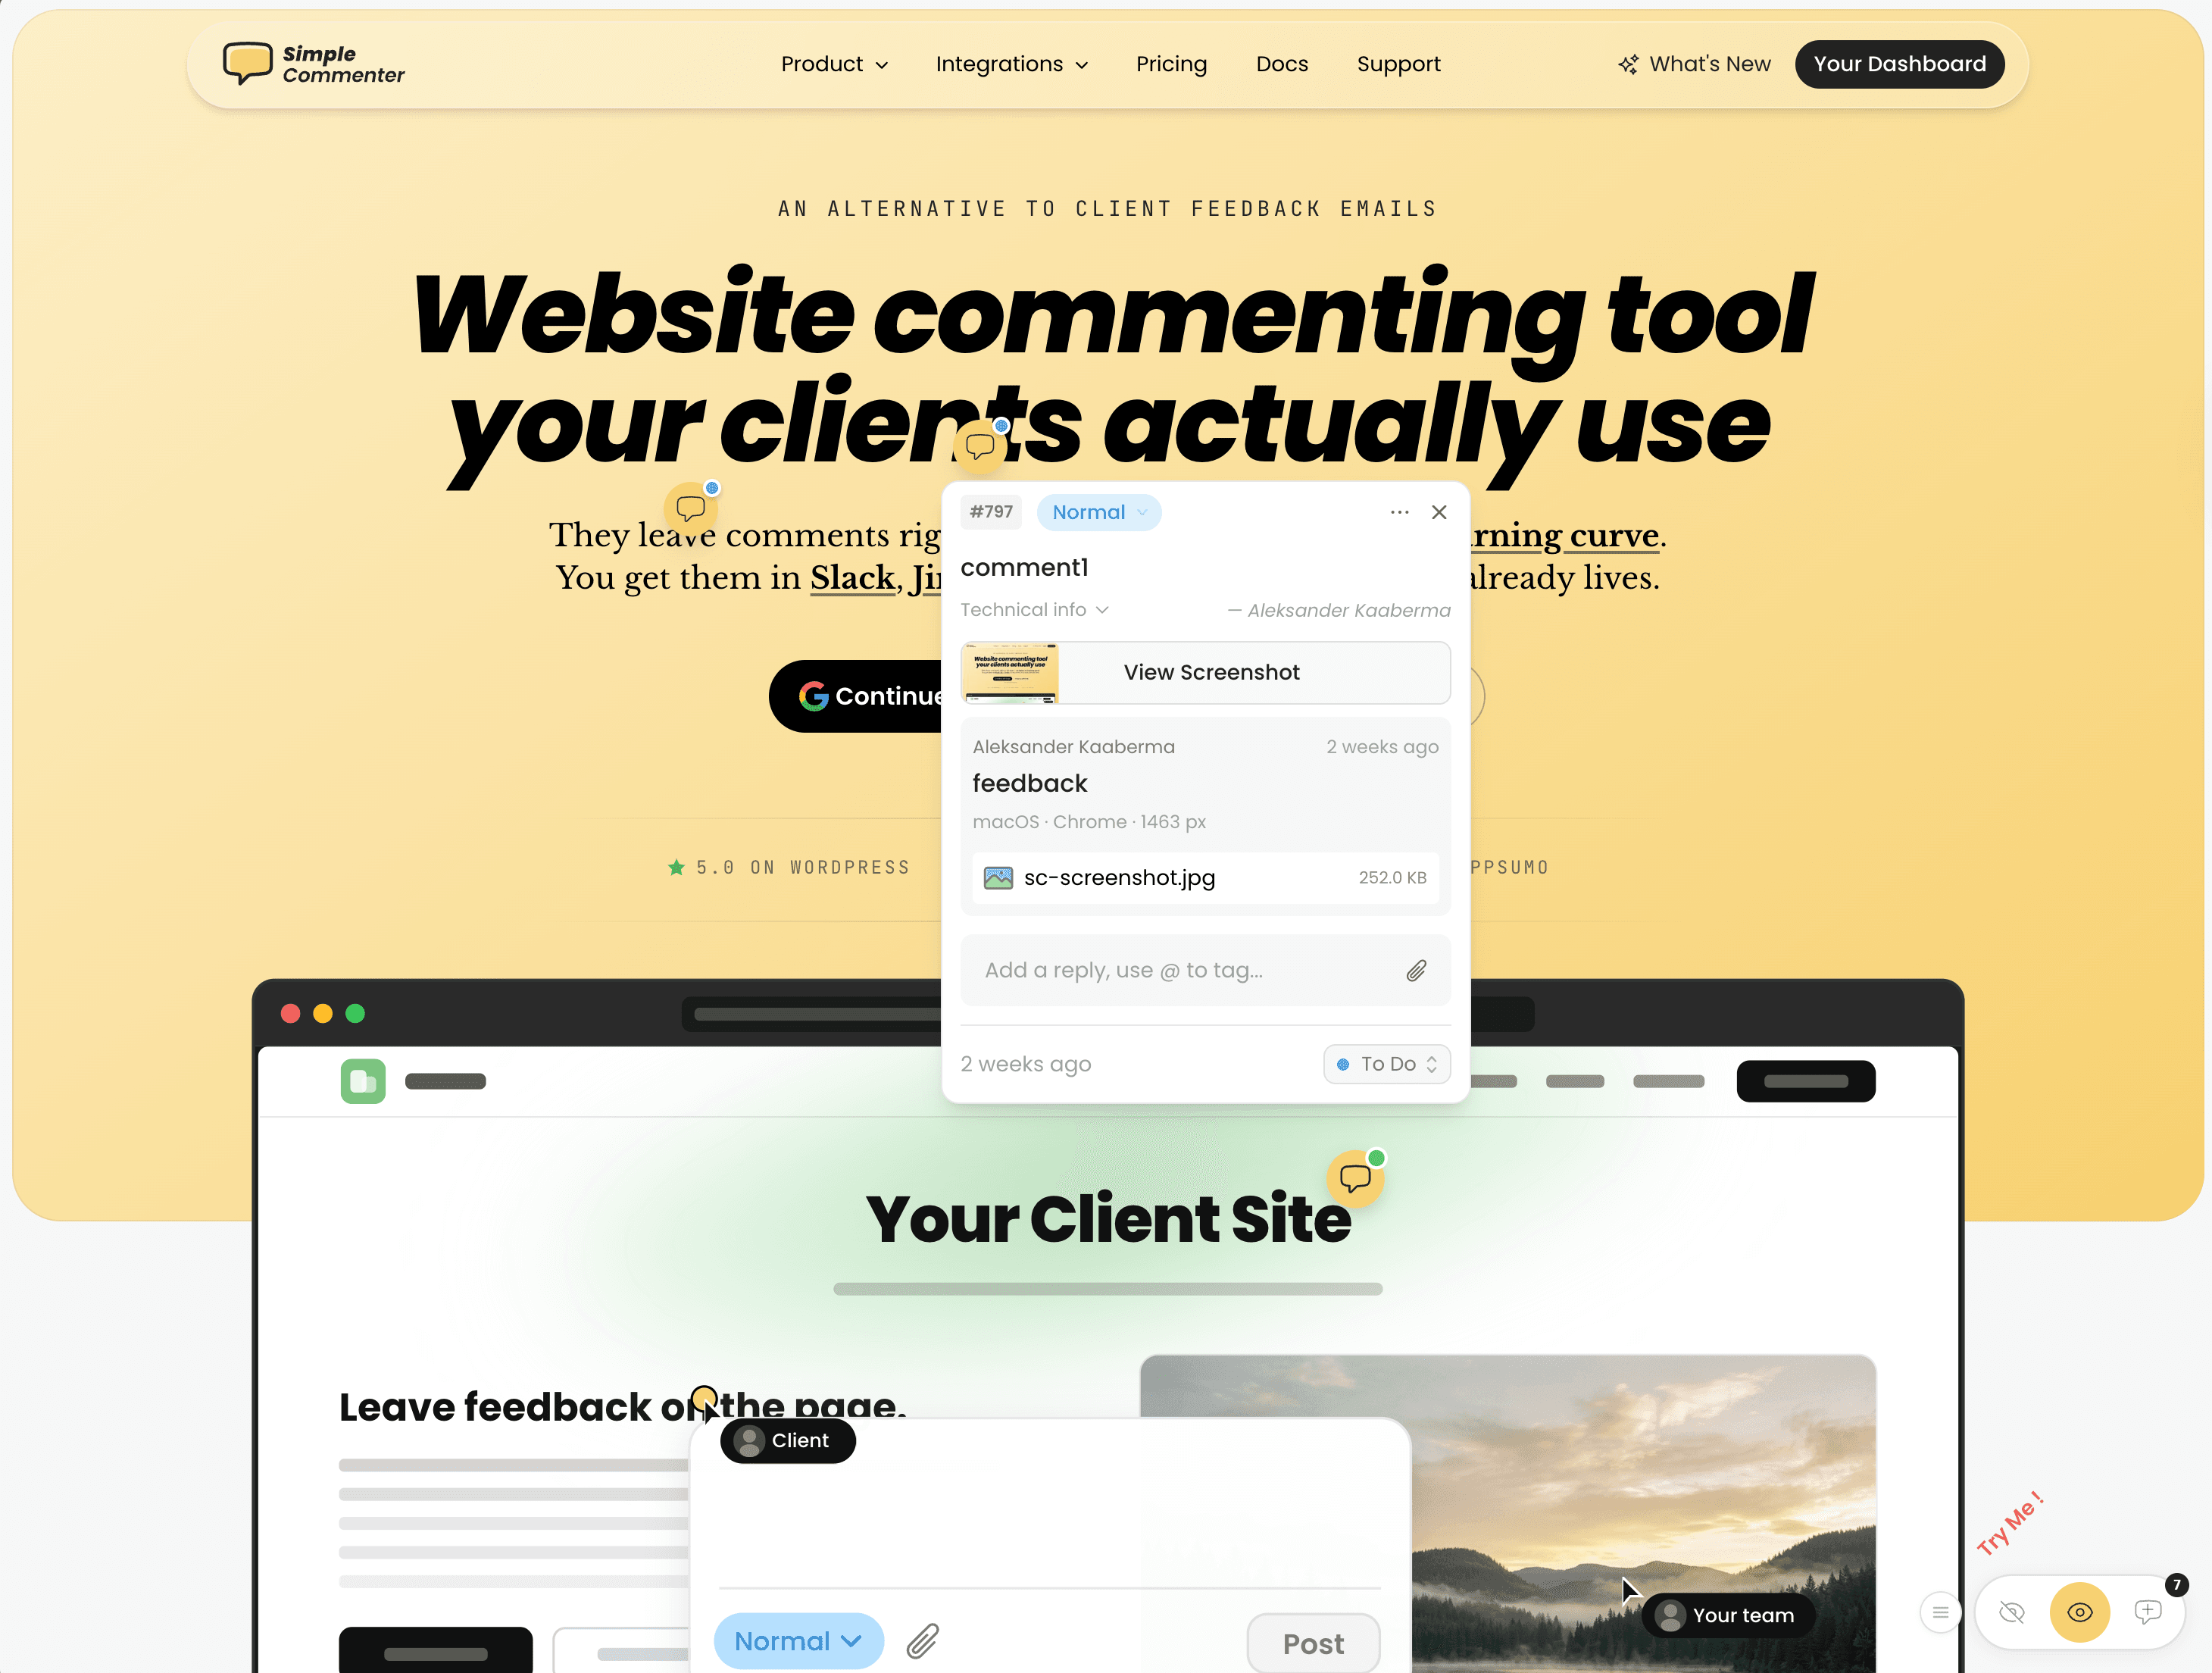
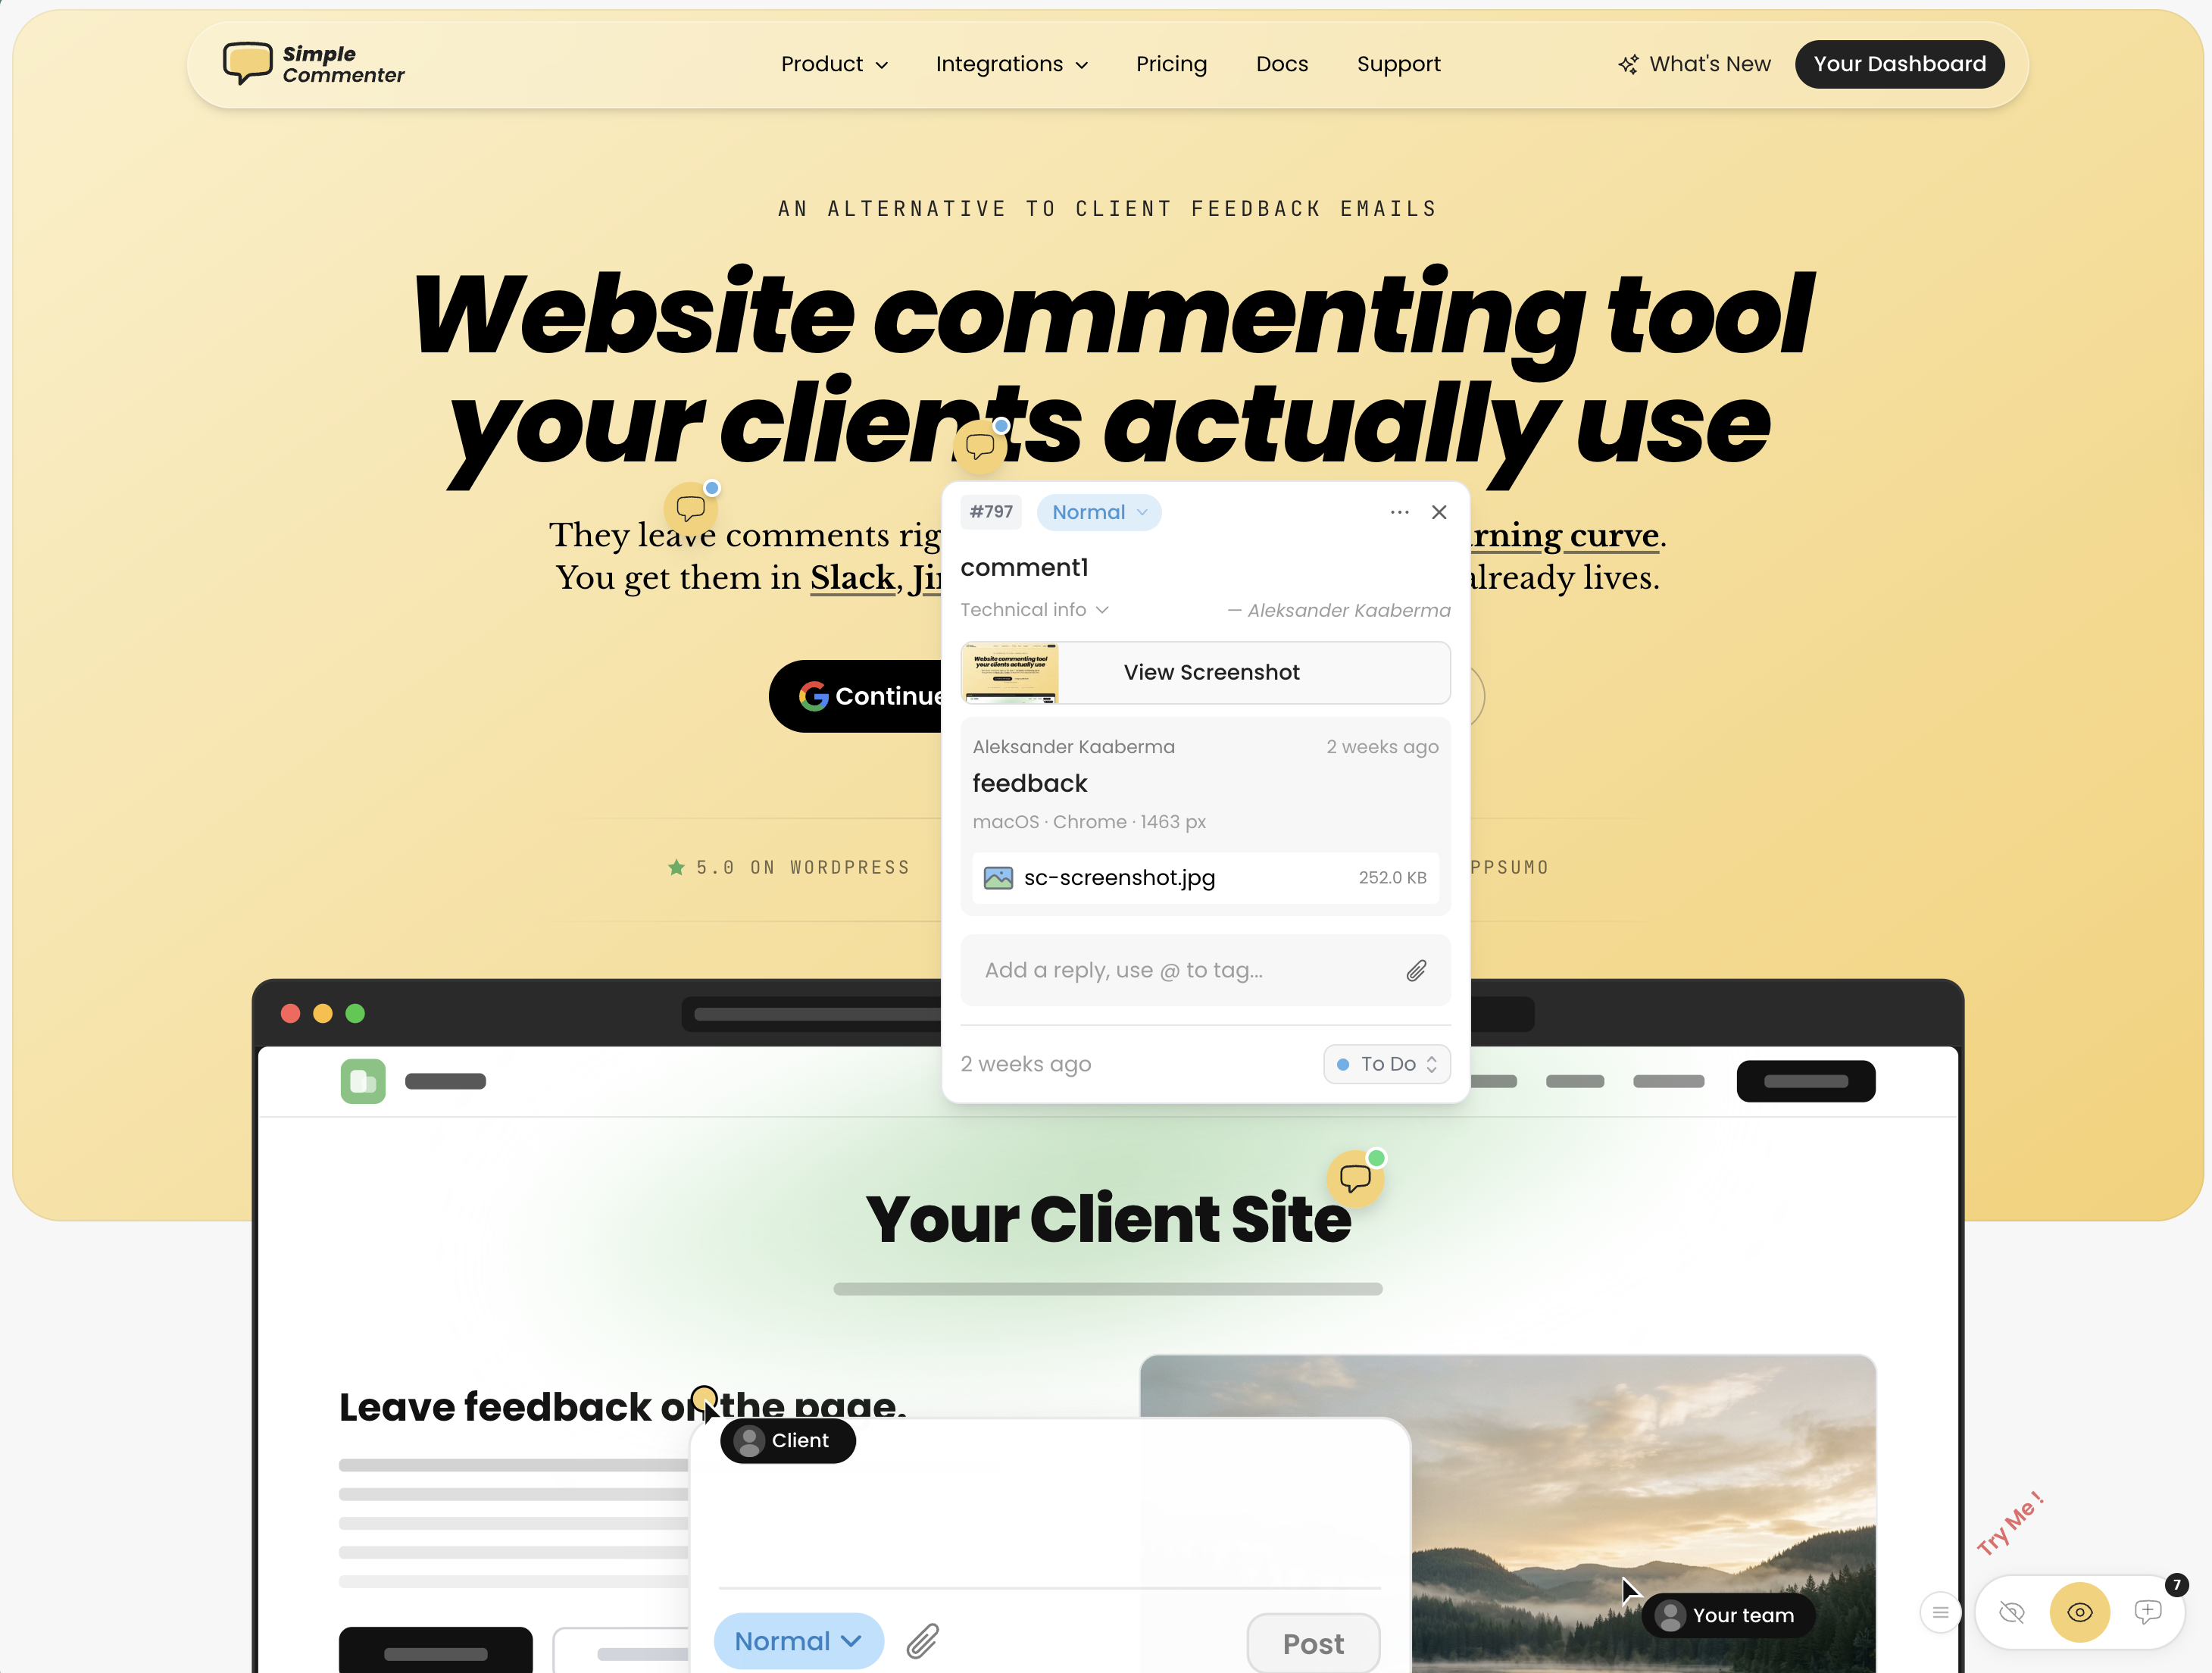
A visual website feedback tool keeps the page location and discussion together. Simple Commenter lets clients leave on-page comments through the configured review flow, including access without a separate account. We build it, and this is the part of the workflow it supports.
For a defect, use the bug report template: actions taken, expected result, actual result, and evidence. A screenshot helps show the problem, but the written steps explain how another person can reach it.
Avoid turning every reply into a new issue. Keep follow-up discussion on the original comment and separate a new request when it changes the work.
4. Consolidate and classify the revision list#
The project lead checks the feedback before assigning it. Ask the final approver to resolve conflicting requests, such as one reviewer wanting a paragraph shorter and another asking for more detail.
| Type of feedback | Example | Next action |
|---|---|---|
| Defect | Contact form does not show its confirmation | Investigate, fix, and retest |
| In-scope revision | Replace a supplied image on the About page | Confirm the asset and assign the change |
| Clarification | “Make this more premium” | Ask what outcome or reference the reviewer means |
| New scope | Add online booking to a brochure project | Estimate the work and agree on the schedule |
| Accepted limitation | A documented lower-priority issue can wait | Record who accepted it and the follow-up owner |
These categories are examples; the project scope determines which changes are included. Publish one agreed revision list so the client and team can see the same commitments.
5. Review the changed version#
After implementation, repeat the relevant checks and share the new version. Tell reviewers what changed and what still needs a decision.
A useful reply says: “The mobile heading now stays on two lines at the reported width; please check staging version 13 on your phone.” It gives the reviewer something specific to verify.
Use the QA checklist for defects and the original brief for design or content decisions. If a fix affects shared navigation or a form component, check the other pages that use it too.
6. Ask for explicit sign-off#
The release decision should identify the version, approved scope, any accepted limitations, and the approver. Keep it where the project team can retrieve it.
An illustrative request:
Please confirm that staging version 13 is approved for release for the five pages in our agreed scope. The booking integration remains excluded. The recorded image replacement on the Work page is scheduled for Friday and is not part of this release. Alex is the final approver.
Adapt the record to your agreed process. This is an operational example, not a substitute for the terms in your client agreement. Do not describe a feedback widget as an electronic-signature service unless that is a capability you have separately verified.
Once approval is recorded, the release owner follows the website launch checklist, verifies the important production journeys, and shares the handoff details.
What if the client keeps adding feedback?#
Acknowledge the request and identify which decision it changes. If it fits the agreed round, add it to the revision list. If it extends the scope or arrives after acceptance, explain the effect on time and cost before doing the work.
Keep the earlier approval record. It explains which version the client accepted and helps everyone understand why a later change has its own delivery date.
If reviewers are not responding, shorten the task before sending another broad “any feedback?” message. Ask the approver to review one named journey, resolve one decision, or confirm a new review date.
Choosing a tool for the approval process#
The tool should fit the review, not force the client to learn your whole delivery system. Check whether reviewers can see existing comments, whether feedback includes enough page context, and whether your team can assign and track the work.
Our website feedback tools guide compares the available approaches. For teams comparing feedback platforms, Userback vs Usersnap explains the difference between a product-feedback system and the client-review workflow described here.
Questions about client approval#
Does resolving every comment mean the website is approved?#
No. Resolve individual issues when they have been handled and verified. Ask the named approver for a separate decision on the reviewed deliverable or release.
How many people should approve a website?#
Many people can review it, but name one person accountable for the final client decision. If specialist sign-off is required, record who owns each decision and when it is due.
Can we collect feedback before all the content is final?#
Yes, if the review brief states what is provisional. Do not ask the client for final approval of a page that still contains draft copy or placeholder assets.
Where should the approval record live?#
Keep it in the agreed project record with the version, date, approver, and limitations. Link to it from your task board or handoff notes so the team does not have to search several channels.
Found this useful? Add us as a preferred source and Google will show you more of our guides in Search and AI Overviews.